DIY vs Professional Mini-Split AC Installation: 2025 Cost Analysis
Mini-split air conditioning systems provide targeted cooling and heating for specific areas of a home without relying on extensive ductwork. Homeowners often face the choice between installing these systems themselves or hiring certified professionals. This decision hinges on factors such as budget constraints, technical expertise, and desired system longevity. A thorough comparison of costs, benefits, and potential pitfalls equips individuals to select the approach that aligns with their circumstances.
Understanding Mini-Split Systems
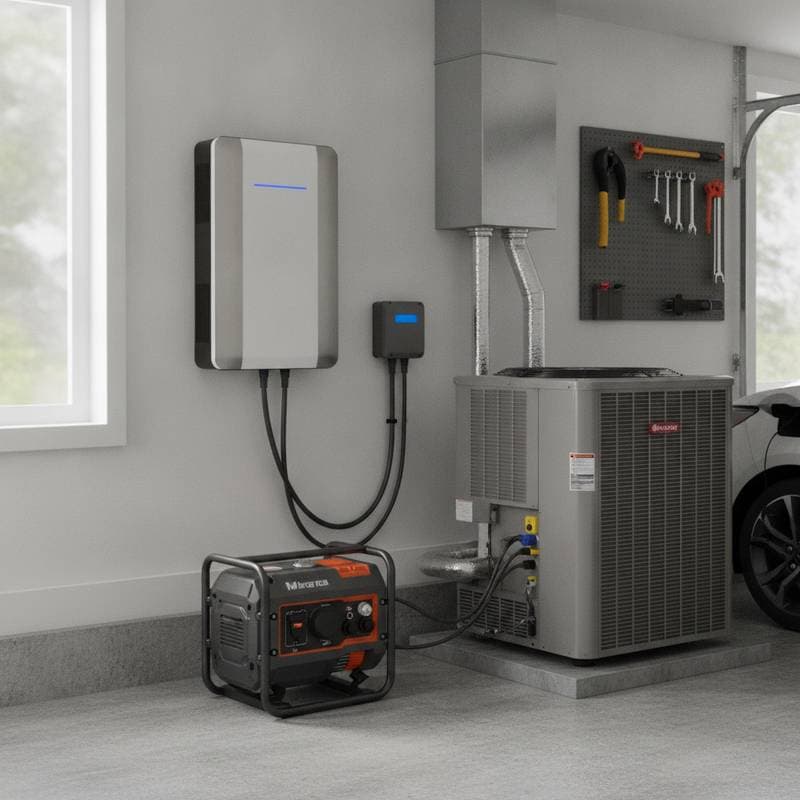
Mini-split systems consist of an outdoor compressor unit and one or more indoor air handlers linked by refrigerant lines. These components enable zone-specific climate control, which enhances energy efficiency compared to traditional central systems. Installation involves mounting the indoor units on walls, running refrigerant and electrical lines through small holes, and connecting everything to the outdoor unit.
The appeal of mini-splits lies in their versatility for additions, renovations, or homes lacking ductwork. However, proper setup requires attention to details like line insulation, electrical connections, and refrigerant charging to avoid inefficiencies or breakdowns. Homeowners must evaluate their skills against these requirements before proceeding.
Cost Breakdown for DIY Installation
DIY mini-split kits typically range from $1,100 to $2,700 for a single-zone system, including the unit, basic tools, and accessories. This price covers the core components but excludes advanced equipment like a vacuum pump, which may add $200 to $500 if not already owned. Savings arise from eliminating labor fees, which can account for 50 percent or more of total project expenses.
Individuals undertaking DIY projects gain hands-on control over timelines and customization. For instance, selecting a unit with a high seasonal energy efficiency ratio ensures lower operating costs over time. Yet, hidden expenses emerge from errors, such as purchasing incorrect fittings or spending extra on repairs due to improper refrigerant handling.
Potential risks include reduced system efficiency from poor line routing, which might increase energy bills by 20 percent. Electrical miswiring poses hazards like short circuits or fires, while refrigerant leaks can damage the environment and void coverage. Homeowners should consult manufacturer manuals meticulously and consider local building codes to mitigate these issues.
Cost Breakdown for Professional Installation
Professional services for a single-zone mini-split system cost between $2,500 and $6,000, encompassing the unit, labor, and any necessary permits. Labor alone ranges from $1,000 to $3,000, depending on location and complexity, with multi-zone setups pushing totals higher due to additional lines and units. Technicians often bundle diagnostic testing and calibration, adding value through optimized performance.
Experts bring specialized knowledge that ensures compliance with safety standards and manufacturer specifications. They use precision tools to evacuate air from lines, charge refrigerant accurately, and balance airflow for even temperature distribution. This expertise minimizes future service calls, potentially saving hundreds in maintenance over the system's 15- to 20-year lifespan.
Warranty protection stands out as a key benefit; most manufacturers require professional installation to maintain full coverage, often 10 years on compressors. Professionals also establish ongoing relationships for tune-ups, which sustain efficiency and extend equipment life. For complex scenarios, such as integrating with smart home systems, their involvement prevents compatibility issues.
Factors Influencing the DIY vs Professional Decision
Skill level plays a central role in this choice. DIY suits those with intermediate experience in electrical work and plumbing, particularly for straightforward single-zone applications. Professionals excel in scenarios demanding advanced techniques, like handling long refrigerant runs or navigating structural obstacles.
Accessibility of the installation site affects feasibility. Projects with clear paths for line routing and nearby electrical access favor DIY efforts. Conversely, installations requiring wall penetrations in hard-to-reach areas or electrical panel modifications necessitate professional intervention to avoid structural damage or code violations.
Time investment varies significantly. A DIY project demands 4 to 8 hours, spread over days to allow for drying and testing. Professionals complete most jobs in 4 to 6 hours, freeing homeowners from the learning curve and physical demands.
Practical Guidelines for Each Approach
Scenarios Ideal for DIY
- Single-zone systems where the indoor unit mounts on an exterior wall near the outdoor compressor.
- Short refrigerant line runs, under 25 feet, minimizing insulation and vacuuming challenges.
- Homeowners equipped with essential tools: a power drill for mounting, a bubble level for alignment, a multimeter for electrical checks, and basic flare tools for line connections.
In these cases, follow a step-by-step process: select a compatible unit, mark mounting locations, drill holes for lines, secure units, connect wiring per diagrams, evacuate lines with a vacuum pump, and release refrigerant. Test operations thoroughly before finalizing.
Scenarios Requiring Professional Help
- Multi-zone configurations involving multiple indoor units and branched lines.
- Installations needing electrical upgrades, such as adding a 240-volt dedicated circuit.
- Situations involving refrigerant charging, line brazing, or compliance with inspection requirements.
Professionals handle these by conducting site assessments, obtaining permits, and performing pressure tests. They also integrate features like Wi-Fi controls or zoning dampers for enhanced functionality.
Essential Considerations for Homeowners
Project Difficulty: Intermediate for DIY, involving mechanical and electrical tasks; straightforward for professionals.
Required Tools and Time: DIY requires a drill, level, vacuum pump, torque wrench, manifold gauge set, and electrical tester; allocate 4 to 8 hours plus preparation.
Optimal DIY Conditions: Limited to one-room applications with accessible walls and minimal wiring alterations.
Professional Recommendations: Essential for multi-zone systems, refrigerant work, or warranty preservation.
Cost Estimates: DIY totals $1,100 to $2,700; professional installations range from $2,500 to $6,000, varying by system size and region.
Energy rebates and incentives may offset costs; check local utility programs for qualifying installations that meet efficiency standards.
Steps to Select Your Installation Method
Assess your technical comfort by reviewing installation videos and manuals for your chosen unit. Calculate total costs, factoring in tools, potential errors, and long-term savings from efficiency. Consult local codes to confirm DIY permissibility and warranty terms.
If uncertainties arise, obtain quotes from licensed HVAC contractors for comparison. Prioritize certified technicians with experience in mini-splits to ensure quality. Ultimately, the chosen method should deliver a reliable system that enhances home comfort without undue stress or expense.