Bathroom Mold Testing: DIY Kits vs Professional Results
Every homeowner benefits from knowing how to evaluate bathroom mold. Dark spots, musty odors, and recurring moisture often create concern. A systematic inspection helps determine whether cleaning alone will suffice or whether testing adds value.
Mold develops when moisture lingers on surfaces or penetrates building materials. Bathrooms with poor ventilation, plumbing leaks, or frequent condensation provide ideal conditions. Testing can identify mold presence, yet it never replaces the need to correct the underlying moisture source.
Core Considerations Before Testing
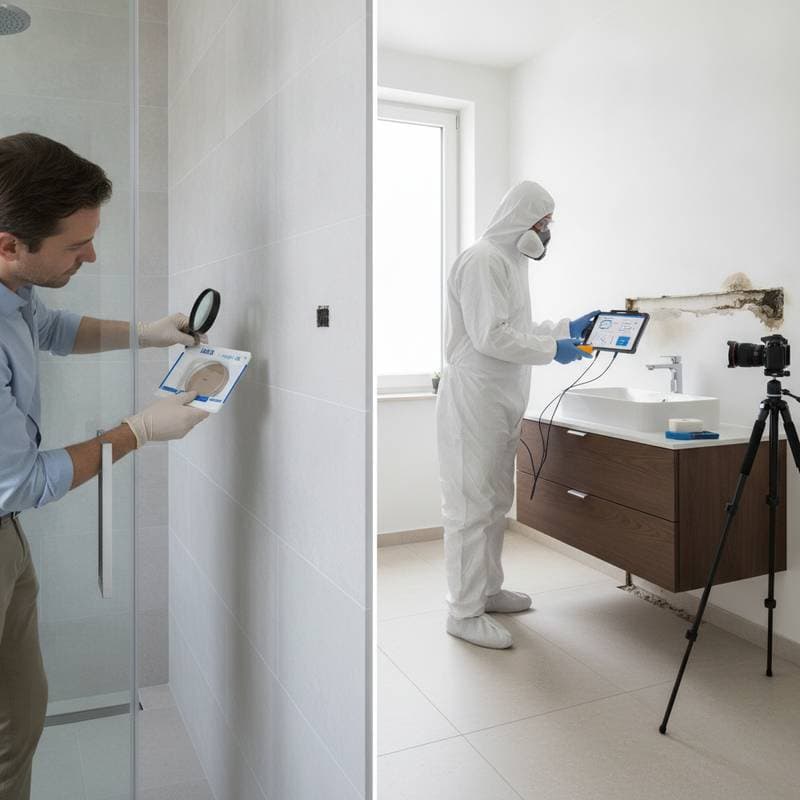
DIY mold kits provide an inexpensive starting point, yet their results require careful interpretation. Professional inspections cost more but deliver targeted sampling, hidden moisture detection, and clear documentation. A visible mold patch usually requires cleaning or removal rather than laboratory analysis.
Testing becomes relevant when mold hides behind finishes, odors persist without visible growth, household members experience respiratory symptoms, or documentation is required for insurance, real estate transactions, or landlord disputes.
Preparation Checklist
- Essential tools: Flashlight, nitrile gloves, N95 respirator, moisture meter if available, and a phone camera for documentation.
- DIY appropriate situations: Small visible patches, straightforward ventilation improvements, and situations where you feel comfortable interpreting limited results.
- Professional inspection warranted: Hidden growth, repeated outbreaks, water damage history, sewage involvement, or occupant health concerns.
- Cost range: DIY kits typically run $10 to $50. Professional assessments range from $250 to $800, with laboratory fees sometimes billed separately.
How Home Test Kits Function
Most consumer kits rely on a petri dish, surface swab, or air sampling cassette. You expose the medium to bathroom air or collect a surface sample, then allow growth over several days. Some kits include prepaid laboratory analysis for species identification.
The primary limitation lies in context. Mold spores exist in virtually every indoor and outdoor environment. A positive result does not prove a hazardous condition exists. Conversely, a negative result does not rule out hidden colonies behind walls or under flooring.
If you choose a kit, follow every instruction precisely. Wash hands before handling, avoid disturbing large colonies, and record the exact sample location, date, visible conditions, and any odor notes. Laboratory-processed samples generally provide more actionable information than growth-only kits.
Conducting a Thorough Visual Inspection
Begin with the exhaust fan. Activate the fan and hold a small tissue near the grille. Strong suction pulls the tissue toward the opening. Weak movement indicates blockage, inadequate capacity, or improper venting.
Examine ceilings, corners, grout joints, caulk lines, cabinet interiors, and the space beneath the sink. Watch for fuzzy growth, discoloration, bubbling paint, swollen wood, or peeling wallpaper. Hold a flashlight at a shallow angle to reveal subtle surface irregularities.
Test plumbing connections with a dry paper towel. Wrap the towel around supply valves and drain fittings, then run water and check for dampness. A moisture meter can identify damp drywall, though readings serve as indicators rather than definitive diagnoses.
Photograph conditions before any cleaning. If mold reappears in the same location, the moisture source remains active and requires attention.
Safety Protocols and Practical Limits
Avoid scraping, sanding, or brushing extensive mold growth. Disturbing colonies releases particles throughout the space. Wear gloves and a properly fitted respirator for minor surface cleaning, and keep children, pets, and sensitive individuals away from the work area.
Never combine bleach with ammonia, vinegar, or other household cleaners. Open a window when feasible to improve airflow, but do not rely on ventilation if water continues entering the structure.
Small areas on nonporous surfaces can be cleaned with detergent and water, then dried thoroughly. Porous materials such as saturated drywall, ceiling tile, or compromised wood typically require removal. Stop work and seek professional help if the affected area is large, returns quickly, or involves concealed cavities.
Advantages of Professional Assessment
A qualified inspector begins with visual evaluation and moisture mapping. Rather than collecting random samples, the inspector compares indoor and outdoor air quality, targets suspicious surfaces, and employs specialized equipment to detect moisture behind finishes.
Professional reports identify mold genera and provide written documentation. However, laboratory data still requires interpretation. Confirm whether the inspector separates assessment from remediation services. Companies that recommend costly removal before explaining the moisture source warrant additional scrutiny.
Request a report that includes sample locations, moisture readings, photographs, recommended repairs, and explicit limitations. No test can guarantee a mold-free environment. Quality reporting clarifies what was examined and what remains unknown.
Selecting the Appropriate Approach
Opt for a DIY kit when you need basic information about a small, visible issue and feel comfortable with limited results. Choose professional inspection when the cause remains unclear, the problem recurs, or formal documentation matters.
Before investing in testing, repair obvious leaks, operate the exhaust fan during and after showers, dry wet surfaces promptly, and maintain bathroom humidity below 50 percent. These steps often resolve minor problems and make subsequent testing more meaningful.
Next Steps for Effective Mold Management
A test represents only one component of bathroom mold control. Begin with systematic visual inspection, document findings thoroughly, and address moisture issues without delay. Use a kit for preliminary guidance rather than definitive assurance.
When professional assistance becomes necessary, select an inspector with documented training, independent reviews, transparent pricing, and a clearly defined scope of work. Maintain inspection reports, repair receipts, and photographs in a single location for future reference.