Detect Hidden Mold Early: The Power of Moisture Mapping
Homeowners often encounter recurring mold despite thorough cleaning efforts. A persistent musty odor may signal an unseen issue. Mold typically originates from undetected moisture buildup behind walls or beneath floors. Early detection through moisture mapping provides a proactive solution to these challenges.
Personal experience highlights the frustration of discovering rot after removing drywall. Such problems develop over months without visible signs. Moisture mapping addresses this by pinpointing damp areas before mold proliferates. This method ensures comprehensive protection for your property.
Project Snapshot
Average Cost: $350–$1,200 for full-home moisture mapping
Timeline: 1–2 days
Lifespan: Results remain valid until significant water incidents or renovations occur
Best Season: Late summer or fall, when humidity levels peak
DIY Friendly: Partial
Permits: None required unless combined with structural repairs
Components of a Professional Moisture Mapping Service
Professional moisture mapping begins with a comprehensive scan utilizing infrared thermal imaging. These devices identify temperature variations indicative of moisture or concealed leaks. Technicians then employ pin and pinless moisture meters to verify initial findings. The resulting report features a color-coded diagram delineating moist regions, dry areas, and probable moisture origins.
Clients receive several key deliverables from the service. These include thermal images that accentuate cool or damp surfaces. Moisture percentage measurements appear categorized by material composition. The report also offers targeted recommendations for drying processes, sealing applications, or additional diagnostic tests. Furthermore, it establishes a baseline for subsequent evaluations.
Inspectors focus on high-risk locations during the assessment. Areas around windows, beneath sinks, along baseboards, and behind large appliances receive close attention. Basements, crawl spaces, and attics represent critical zones for examination due to their vulnerability to humidity and condensation.
Evaluating DIY Options Against Professional Expertise
Handheld moisture meters, available for $40–$100 at hardware retailers, suit basic spot inspections. These tools effectively assess wood or drywall near plumbing elements or window frames. However, they lack the capability to generate comprehensive maps or penetrate multiple material layers.
Professionals rely on calibrated equipment and expertise to analyze complex patterns. For instance, a thermal camera might register a cold air current as moisture, leading to misinterpretation. Homeowners have occasionally damaged structures unnecessarily due to such errors. Engage a certified inspector when leaks remain elusive despite initial checks.
DIY approaches prove suitable for specific scenarios. They facilitate routine monitoring in identified vulnerable spots. Basement humidity levels benefit from regular tracking. Pre-painting or sealing inspections also align well with these methods.
Professional intervention becomes essential in more serious cases. Persistent odors or unexplained stains warrant expert review. Post-flood assessments demand thorough analysis. Evaluations prior to home purchases or renovations require specialized knowledge.
Optimal Timing and Seasonal Influences
Moisture problems intensify during environmental transitions. Elevated humidity in late summer or melting snow in spring often exposes latent leaks. Plan inspections during these periods to detect issues at their peak severity. Following intense storms or plumbing interventions, re-evaluate impacted zones promptly.
Seasonal demands affect contractor schedules. Availability decreases during peak periods for related services like roofing or exterior repairs. Coordinate moisture mapping with such projects by reserving appointments well in advance. Reputable providers frequently book several weeks ahead.
Addressing Safety and Structural Implications
The moisture mapping process poses no direct safety risks. Discoveries, however, may indicate hazardous conditions. Moisture within insulation or adjacent to electrical panels requires immediate professional evaluation. Unaddressed dampness in load-bearing wooden elements can cause rot and weaken structural integrity.
Mold presence introduces health concerns, particularly for children or individuals with respiratory sensitivities. Avoid disturbing suspected areas without proper assessment. Older properties may harbor asbestos in wall materials, necessitating cautious handling. Certified experts manage testing and remediation to minimize exposure.
Realizing Long-Term Benefits and Financial Returns
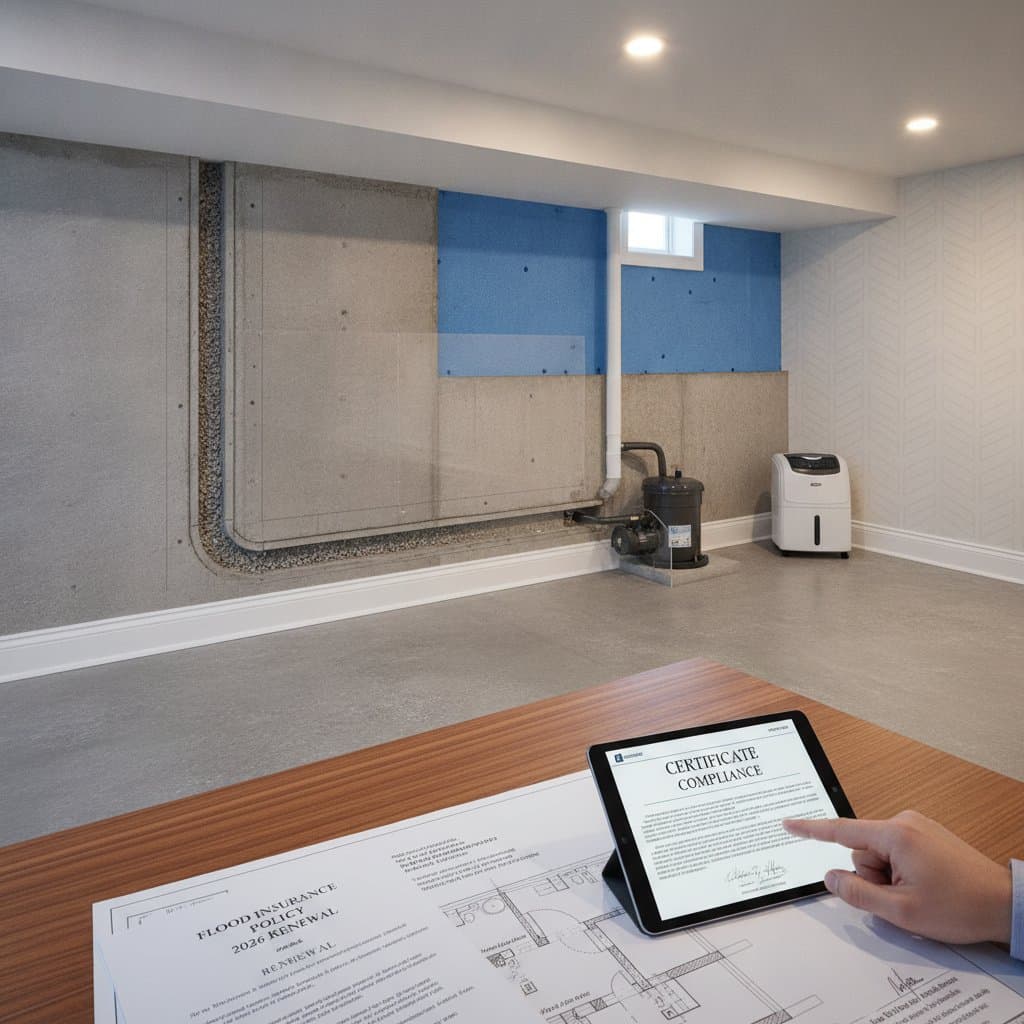
The investment in moisture mapping yields substantial advantages relative to its cost. A single avoided mold remediation effort can offset expenses by $5,000–$15,000. Insurers frequently request inspection documentation for water damage claims, where a moisture map serves as vital evidence.
In property sales, a favorable moisture report bolsters buyer confidence and shields sellers from disputes. Energy efficiency initiatives gain from identifying moisture barriers, allowing insulation to function optimally. Dry materials enhance thermal performance, potentially lowering energy bills by up to 10 percent annually.
Steps to Initiate Moisture Mapping
Address suspicions of concealed moisture without delay. Conduct an initial DIY inspection using a basic meter along plumbing routes and window ledges. Elevated readings justify scheduling a professional service prior to any cosmetic coverings like paint or patches.
Retain the final report as a reference document following repairs. Store it within a dedicated home maintenance file. Perform biannual rechecks of previously mapped areas to maintain ongoing vigilance.