Using a Latin title that signifies âslipper flowerâ or âfoot-formed flower,â Pedilanthus tithymalpides âVariegatusâ is famous by several common names, including variegated devilâs back-bone, Japanese poinsettia, Jacobâs ladder, Persian girl slipper, rickrack plant, and red chicken flower. A member of the family, the drought-resistant plant functions as a house plant or as a alternative. The plant also has potential as a fuel resource that is renewable.
Description
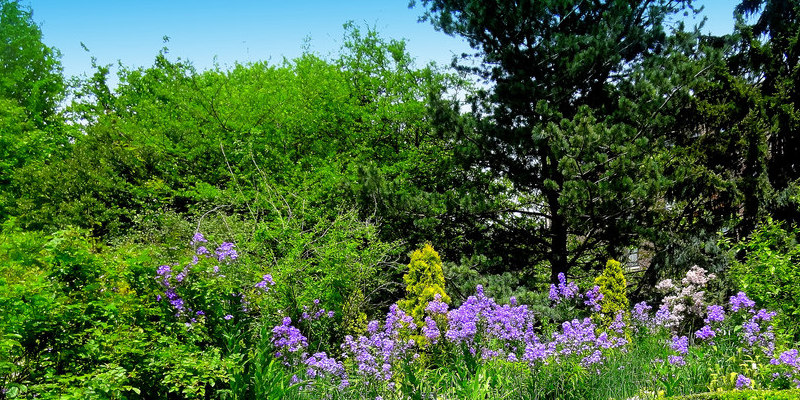
Devilâs back-bone has a a stem that âzigzagsâ at about 1-inch intervals, with leaves alternating on each aspect of the nodes. The leaves of the plant that is variegated contain greens, cream, white, pink and red shades, while the shoe -shaped flower clusters might be yellow or red. Even though it could reach 6 feet outside a sub-tropical succulent, the plant, grows to about 2 to 3-feet in width and height as a house plant.
Requirements
Variegated devilâs back-bone grows well in well-drained soil of almost any texture when planted outside. Plant your indoor slipper plant within an all-purpose potting soil mixed with coarse sand, with a 6.1 to 7.8 pH level, for optimum outcomes. Keep the soil moist from water, and guard your plant. The plant will perform best in Sunset Zones H1, H2, 22, 23 and 2 4. Your devilâs back-bone will prosper best in bright, but indirect, sunshine, even though it’ll also tolerate partial shade. Feed your plant using a well-balanced, water soluble fertilizer twice a year, ideally in mid-spring and midsummer.
Pests and Diseases
The variegated devilâs back-bone is susceptible to powdery mildew, which appears just like a white powder within the the the top of leaves, stems and flowers. To prevent the the need of utilizing chemical fungicides, keep the plant in in just somewhat moist soil, watering in the first morning to enable the soil to dry before encountering evening temperatures that are cooler. Avoid crowding the crops, therefore there’s good air circulation around them. Remove any contaminated foliage to avoid spread of the fungus. Mealy bugs are also a typical problem for devilâs back-bone. Tiny offwhite bugs with bodies that are flat, you can spot them from the clusters of eggs they depart on the lower of the leaves and in the the bond of leaf and stem. Left un-treated, crops that are afflicted will show wilt, yellowing and stunted growth. To handle an infestation, watchfully wipe the afflicted leaves using a fabric dipped in rubbing alcohol, accompanied by by way of some drops of dish washing soap along with a misting with water. Repeat the remedy weekly, as required.
Propagation
Propagating your variegated devilâs backbone is easiest with stem cuttings in the summer. Cut 4inch to 6-inch stem suggestion parts and enable them to dry for 2-3 times, till the cut ends callous. Place the cuttings in to 2inch holes in pots of perlite. Place the pots in a t Ray inside it with about an inch of water, where they obtain in-direct sunlight and spot them. In a week to 1 times, when tugging on the cuttings meets with a resistance from your roots that are new, transfer them into a potting s Oil and sand mix.
Concerns
The devilâs back-bone stems exude a milky sap which will cause skin discomfort, and also the plant is poisonous, if consumed.