Weekend Weatherproofing: Slash Heating Bills by 15%
A single weekend of do-it-yourself weatherproofing can reduce your heating costs by 10 to 15 percent while making your home far more comfortable as fall approaches. Simple fixes, such as sealing windows and insulating attics, deliver substantial savings with minimal investment. This guide walks you through the process, from identifying leaks to completing high-impact tasks, ensuring your home is ready for colder months.
Why Weatherproofing Matters Now
Up to 30 percent of your home's heating energy escapes through gaps in windows, doors, and ducts, according to Department of Energy estimates. A properly sealed home can save 10 to 15 percent on heating bills each season. Beyond cost savings, sealing reduces humidity and mold risks while easing the strain on your HVAC system. With energy prices and sustainability goals at the forefront for many homeowners in 2025, tightening your home's building envelope is a practical step.
Should You Handle It Yourself or Hire Help?
Many weatherproofing tasks, such as sealing windows, topping up attic insulation, and addressing door drafts, are manageable for homeowners with basic tools and skills. However, structural issues, complex roof work, or HVAC modifications often require a professional to ensure safety and code compliance. A hybrid approach, where you tackle smaller jobs and schedule a contractor for a final inspection, often balances cost and quality effectively.
Costs and Time Commitment
For an average home, do-it-yourself materials and tools typically cost between 300 and 500 dollars. In contrast, a full professional exterior seal for a 2,000-square-foot house averages 2,500 to 4,500 dollars in 2025. If you value your time at 30 dollars per hour and the project takes 12 hours, the savings from doing it yourself remain significant.
Your Weekend Weatherproofing Plan
Start with a quick audit to pinpoint leaks, then prioritize the most impactful fixes. Below is a step-by-step checklist to guide your efforts over a weekend.
Step 1: Conduct a Simple Energy Audit
- Use the dollar bill test on a windy day by sliding a bill along window and door edges; if it moves easily, you have a draft.
- Scan walls with an infrared thermometer, available for 25 to 45 dollars, to find areas at least 5 degrees colder than surroundings.
- Consider a homeowner blower door kit, priced under 300 dollars, to measure air changes per hour and aim for 3 ACH or lower.
Step 2: Seal Windows for Maximum Impact
Clean window frames thoroughly and remove old, cracked caulk. Apply a continuous bead of low-VOC acrylic caulk, costing 5 to 8 dollars per tube, around the frame. For single-pane windows, install removable insulating film or interior storm panels for enhanced performance. Expect to spend 15 to 30 minutes per window, depending on the method.
Step 3: Stop Door Drafts
Attach compressible foam or silicone weather stripping, priced at 8 to 12 dollars per roll, to the tops and sides of doors. Add an adjustable door sweep, costing 10 to 15 dollars, at the threshold, trimming it to seal without dragging. For added protection, caulk where the door frame meets the wall.
Step 4: Boost Attic Insulation
Check your attic insulation depth; many climate zones recommend an R-49 rating in 2025, roughly 12 inches of dense-pack cellulose. Rent a blower for 30 to 45 dollars per day to add blown-in cellulose or recycled denim, wearing a dust mask and goggles for safety. Seal penetrations like recessed lights or vent pipes with high-temperature materials to prevent heat loss.
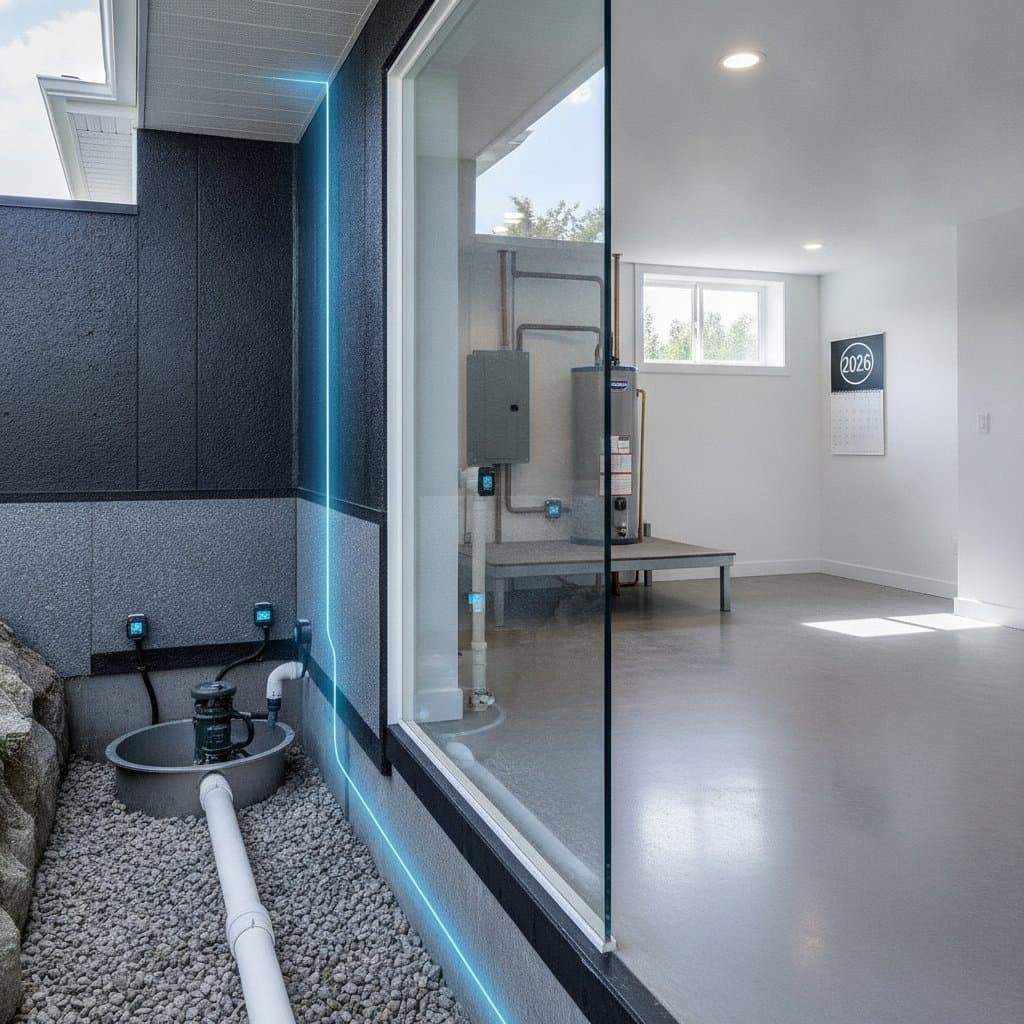
Step 5: Secure Basements and Crawlspaces
Lay a 6-mil polyethylene vapor barrier on the floor, overlapping and taping seams for full coverage. Use closed-cell spray foam, at 7 to 10 dollars per can, to seal rim joists to at least an R-6 rating. Insulate exterior basement walls with rigid foam board, sealing seams with foil tape for a tight barrier.
Step 6: Seal and Insulate Ducts
Apply mastic or UL-listed foil tape to duct seams, avoiding standard duct tape which fails over time. Insulate exposed ducts in unconditioned spaces with R-6 flexible duct wrap. Pair these efforts with a programmable thermostat to optimize heating schedules and reduce runtime.
Tools and Materials Breakdown
- Low-VOC acrylic caulk (10 oz): 5 to 8 dollars.
- Closed-cell spray foam cans: 7 to 10 dollars each.
- Weather stripping rolls: 8 to 12 dollars; door sweeps: 10 to 15 dollars.
- Infrared thermometer: 25 to 45 dollars; caulk gun: 8 to 12 dollars.
- Insulation blower rental: 30 to 45 dollars per day; blower door kit: 250 to 300 dollars.
A complete do-it-yourself kit for a small to medium home generally falls within the 300 to 500 dollar range.
Measuring Your Success
After completing the work, rerun draft tests or use a blower door kit to confirm improvements; a 30 percent reduction in air changes per hour signals strong results. Compare heating bills from October to December, as many homeowners report a 10 to 15 percent cost drop. Monitor indoor humidity, aiming for 30 to 50 percent, to ensure reduced moisture infiltration and window condensation.
Innovative 2025 Trends to Watch
New products simplify weatherproofing tasks this year. Thermochromic sealants change color when they degrade, alerting you to maintenance needs. Eco-friendly insulation options, such as recycled denim and cellulose, match traditional R-values with a better environmental footprint. Retail fall-ready kits bundle low-VOC caulk, weather stripping, and compact infrared thermometers for streamlined shopping.
When to Bring in a Professional
Schedule a contractor for structural repairs, large-scale insulation projects requiring permits, steep roof work, or certified HVAC adjustments. A cost-effective strategy involves completing the bulk of the work yourself, then arranging a professional inspection or video consultation to verify compliance and quality.
Take Action for a Warmer, Cheaper Winter
Select one or two priority areas from your audit and dedicate a weekend to addressing them. Document your progress with before and after photos, maintain a checklist, and consult a contractor briefly if structural concerns arise. With focused effort, you will enjoy a cozier home, lower energy bills, and peace of mind as cold weather sets in.